
Greenhouse irrigation guide
Quick answer
Filter the water, regulate pressure where required, run LDPE pipe beside the crop, then place a pressure-compensating dripper or arrow outlet at each root zone. Choose irrigation time from the dripper flow, crop demand and the actual wetting pattern, not from container size alone.
Start here
Is point-source drip right for this crop?
Use this layout when each plant needs its own visible, serviceable water point. It is designed for greenhouse rows and nursery benches where outlets can be checked plant by plant.
Pots & nursery bags
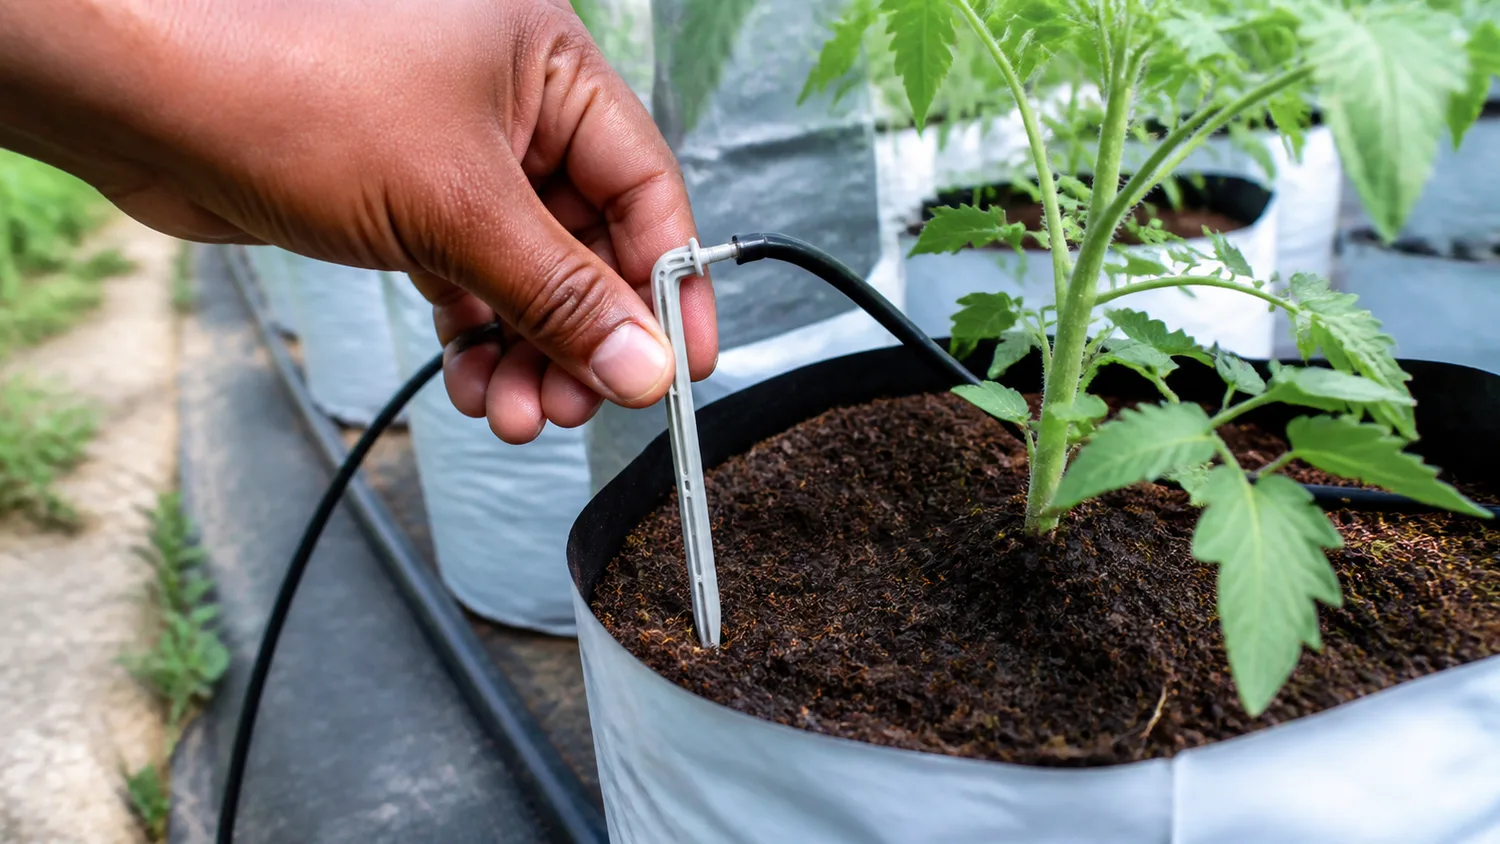
A direct PC dripper or short microtube can serve one plant point with a tidy, inspectable connection.
Grow bags
An arrow outlet places water inside the media. Larger bags may need more than one wetting point after a wetting-pattern test.
Mother plants
Several carefully positioned points can wet a broader root area, provided the outlet assembly and total flow are verified.
Use another layout for long field rows
For long vegetable beds or closely spaced field crops, a correctly designed drip-tape or inline-dripline system is usually more appropriate than one outlet per plant.
What this guide covers
Plan, install, test and maintain the zone
Understand
See how water moves from the source to the root zone.
Select
Choose an outlet and flow rate without relying on a one-size-fits-all pot chart.
Install
Build clean connections and place outlets where roots can use the water.
Test
Collect water at near and far points before trusting the system.
Maintain
Flush lines, service filtration and fix dry plant points quickly.
Buy
Move from each guide section to the relevant Diyatha product category, such as Drip Irrigation, Greenhouse Accessories and Filters, Venturi and Air Release Valve.
System overview
How a greenhouse drip system works
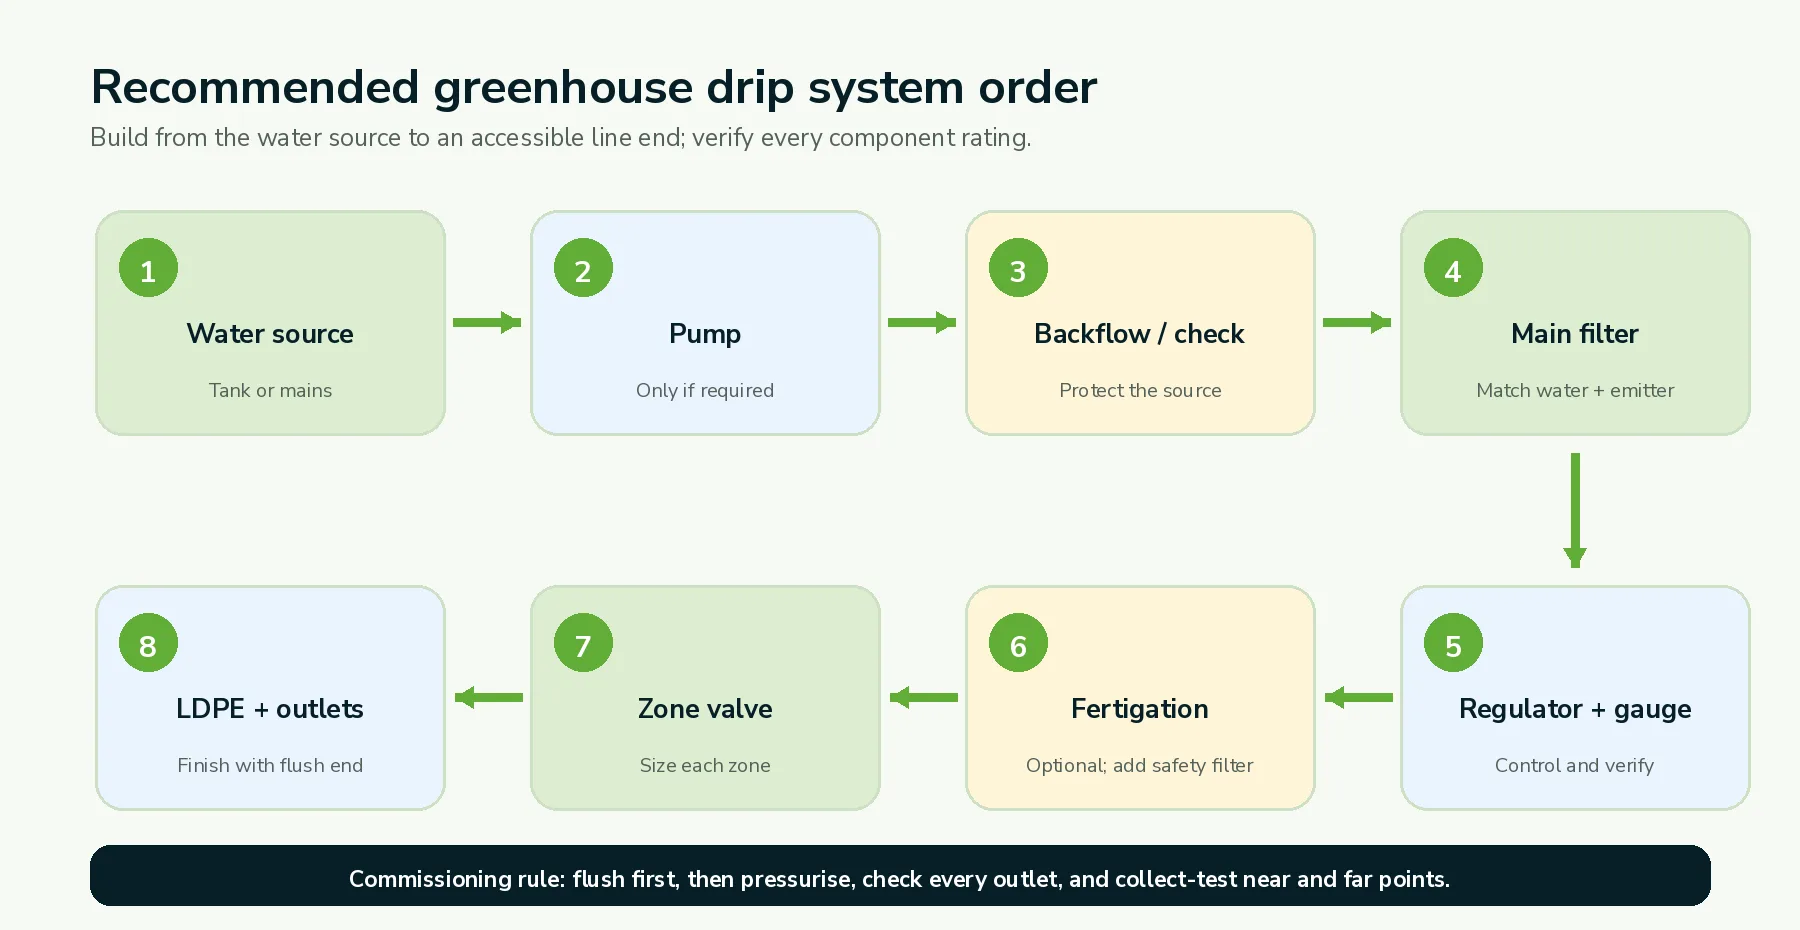
The order matters. Filtration and pressure control protect the small water passages; zone planning keeps the flow available to every plant; an accessible end point makes flushing possible.
The pressure-compensating dripper is not the whole pressure system
A PC dripper can steady outlet flow only inside its confirmed working range. The pump, pipe size, elevation, filter condition, regulator and number of open outlets still determine whether the zone works.
Outlet selection
Choose where the water should land
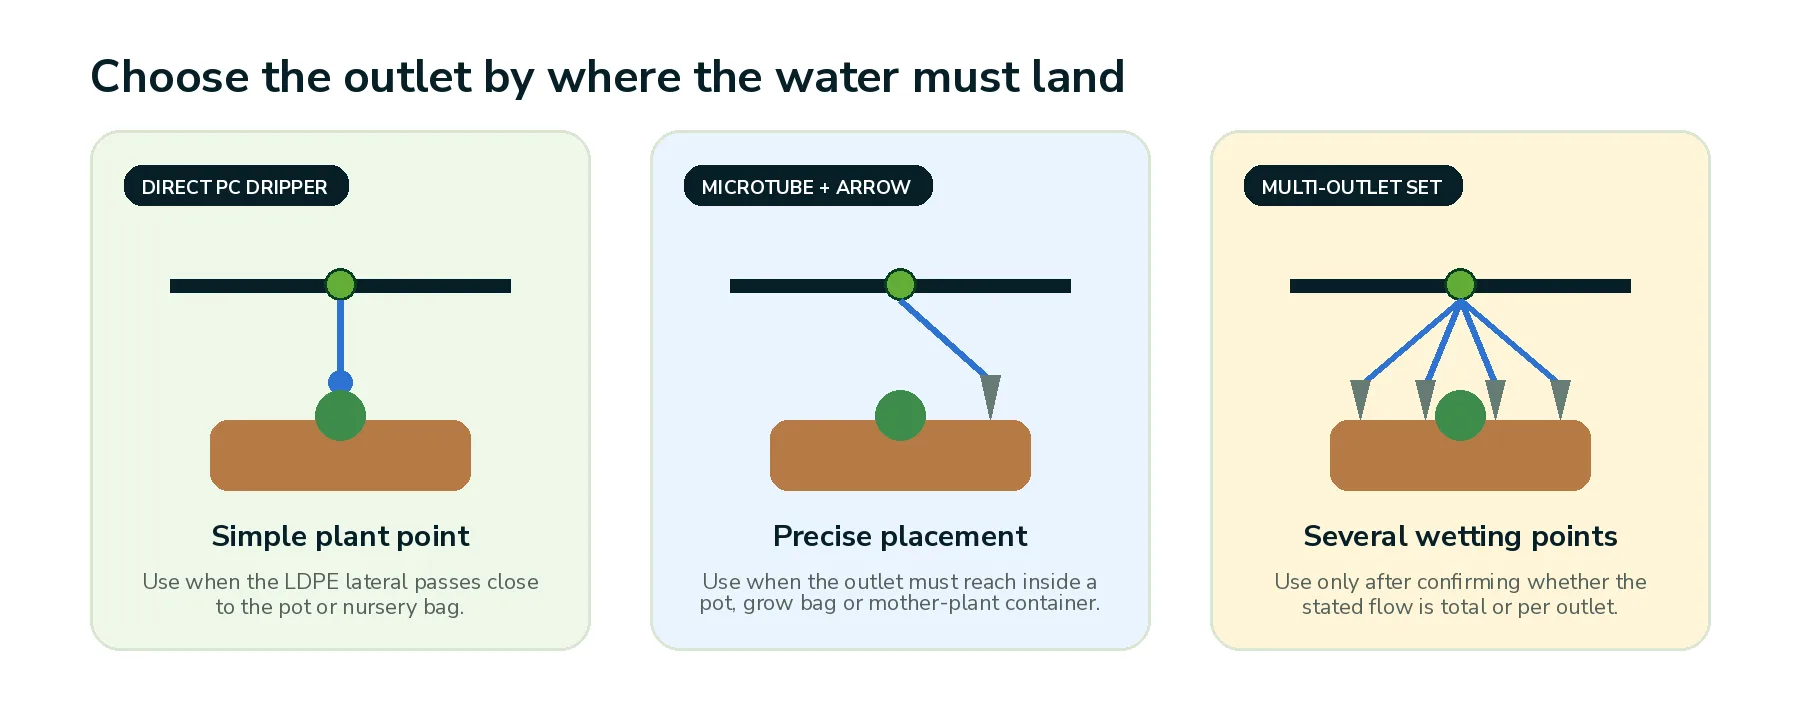
Start with the crop layout and serviceability. The best outlet is the one that reaches the active root zone, stays visible enough to inspect and matches a verified product configuration.
Important multi-outlet check
Do not assume that a four-branch set provides the dripper’s rated flow at each arrow. Confirm whether the published rating is total flow or per-outlet flow, then collect-test every branch before using it on a crop.
Flow & irrigation time
Choose flow by delivery, not by pot size alone
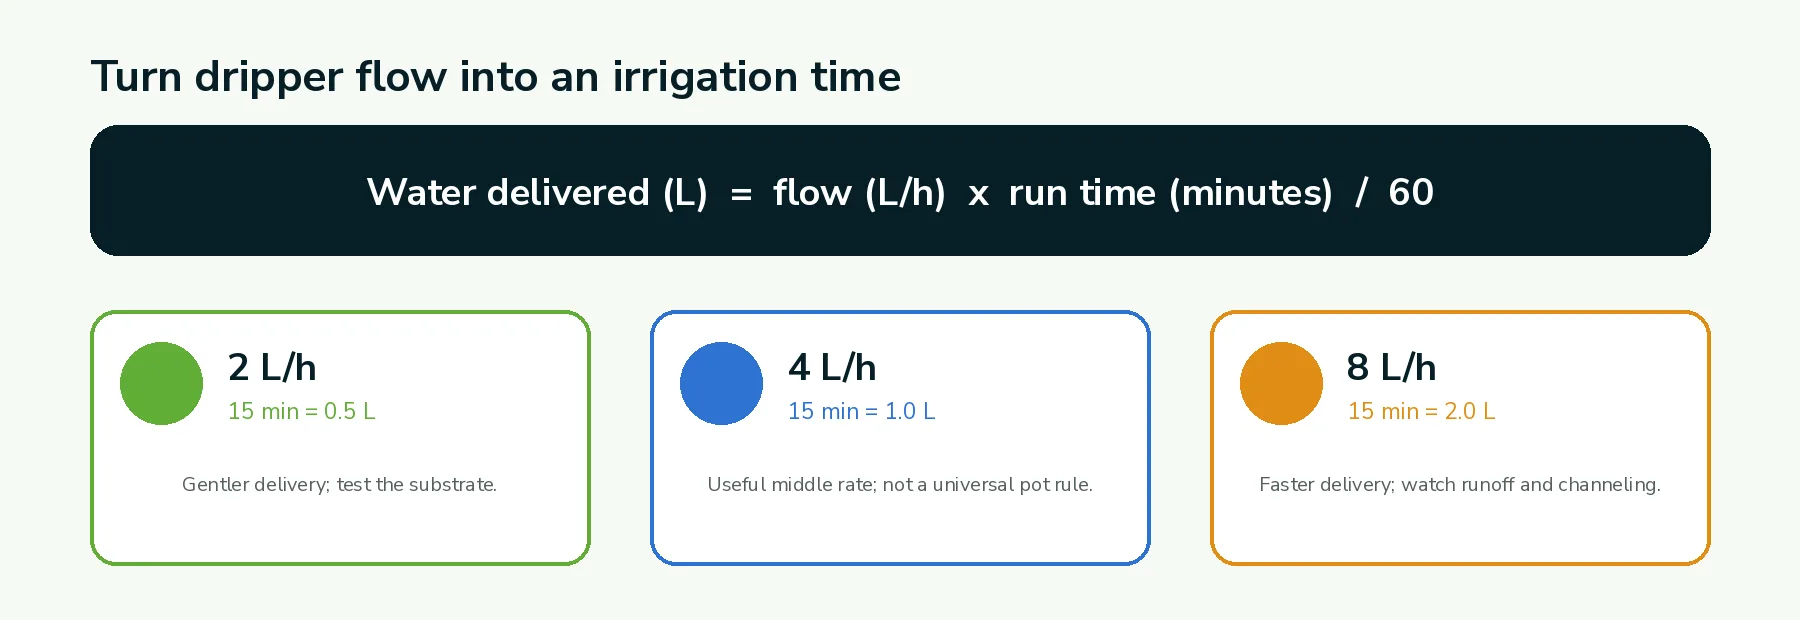
A 2, 4 or 8 L/h label tells you the nominal volume delivered per hour under the product’s stated test conditions. It does not by itself tell you what one crop needs or how long a zone should run.
Set the first trial
Estimate demand
Use crop stage, weather, container volume, substrate and drainage, not a fixed universal minutes chart.
Run a short cycle
Collect the outlet volume and inspect how far water moves across and down through the media.
Adjust and record
Change time, frequency, outlet count or placement; group similar crops in one irrigation zone.
Buying checklist
Collect these details before ordering
Use these details to prepare a practical parts list before ordering. Photograph the layout so quantities, pipe runs and product choices are easier to check.
Crop & stage
Crop name, age and whether plants are vegetative, flowering or fruiting.
Plant count
Plants per row, rows per zone and any future expansion.
Containers
Pot or bag dimensions, substrate type and drainage behaviour.
Water source
Tank, well or mains; visible sediment, algae and any water-quality test.
Pressure & flow
Measured source pressure and the volume available while the system is running.
Distances
Mainline and lateral lengths, pipe sizes, row spacing and elevation changes.
Calculate the zone flow
Total zone flow = sum of the rated outlet flows. Example: 100 verified 4 L/h outlets require a nominal 400 L/h at the emitters. The design must also account for component pressure loss and the manufacturer’s operating requirements. Use a qualified irrigation designer or installer when the line is long, elevated or supplied by a small pump.
Keep one outlet type and similar crops together where practical. A zone that mixes seedlings, fruiting plants and large mother plants becomes difficult to time and audit.
Installation
Install cleanly in six steps
Lay out the crop points first, then build from the control head toward the end of each lateral. Keep every connection accessible for inspection.
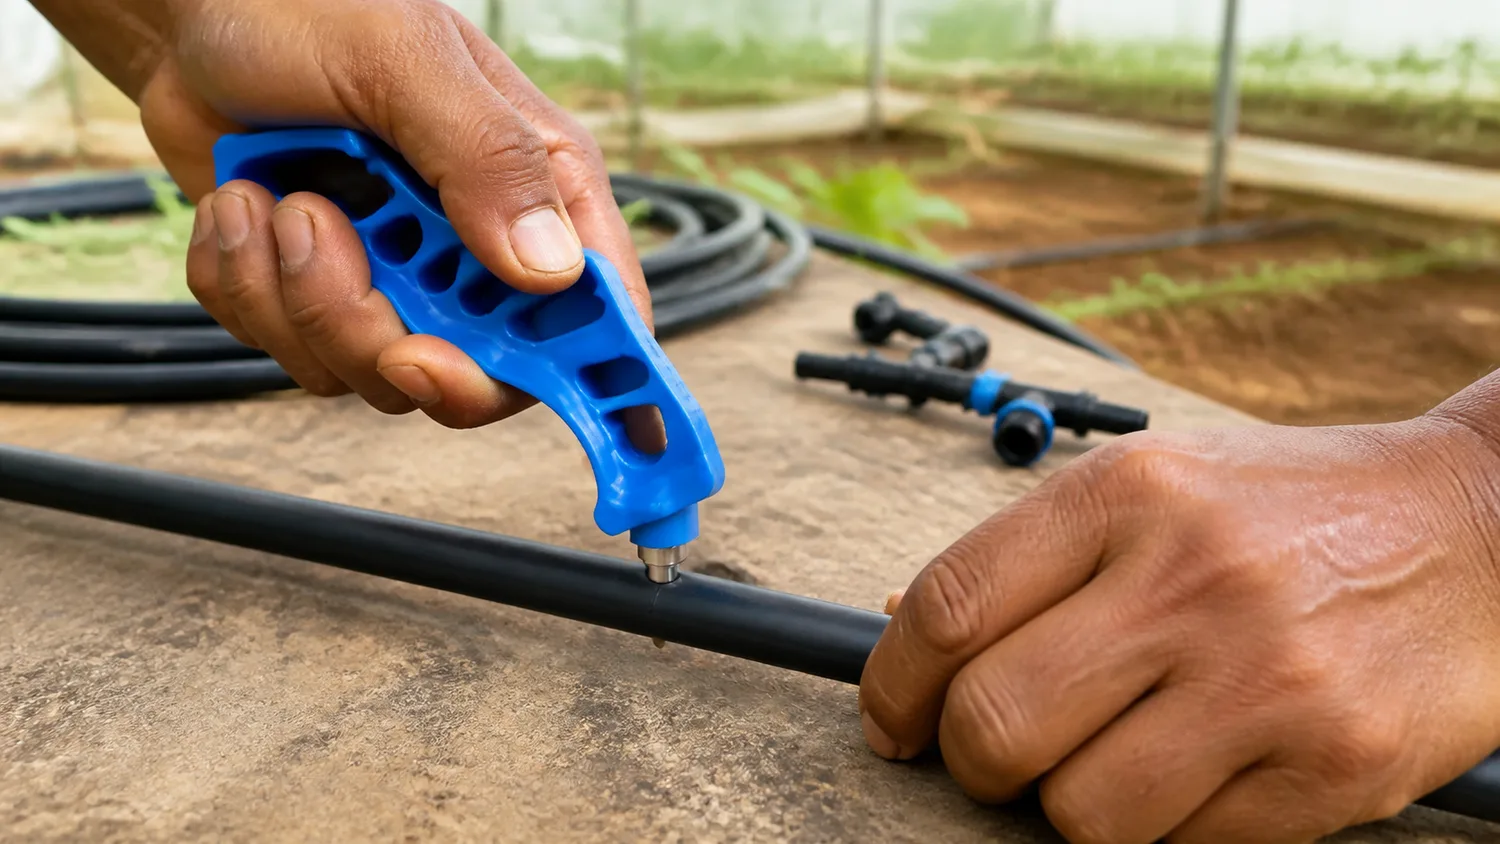
Step 1: Mark and punch the LDPE
Use the correct 3 mm puncture tool straight into the pipe. Avoid nails or knives; rough holes can leak.
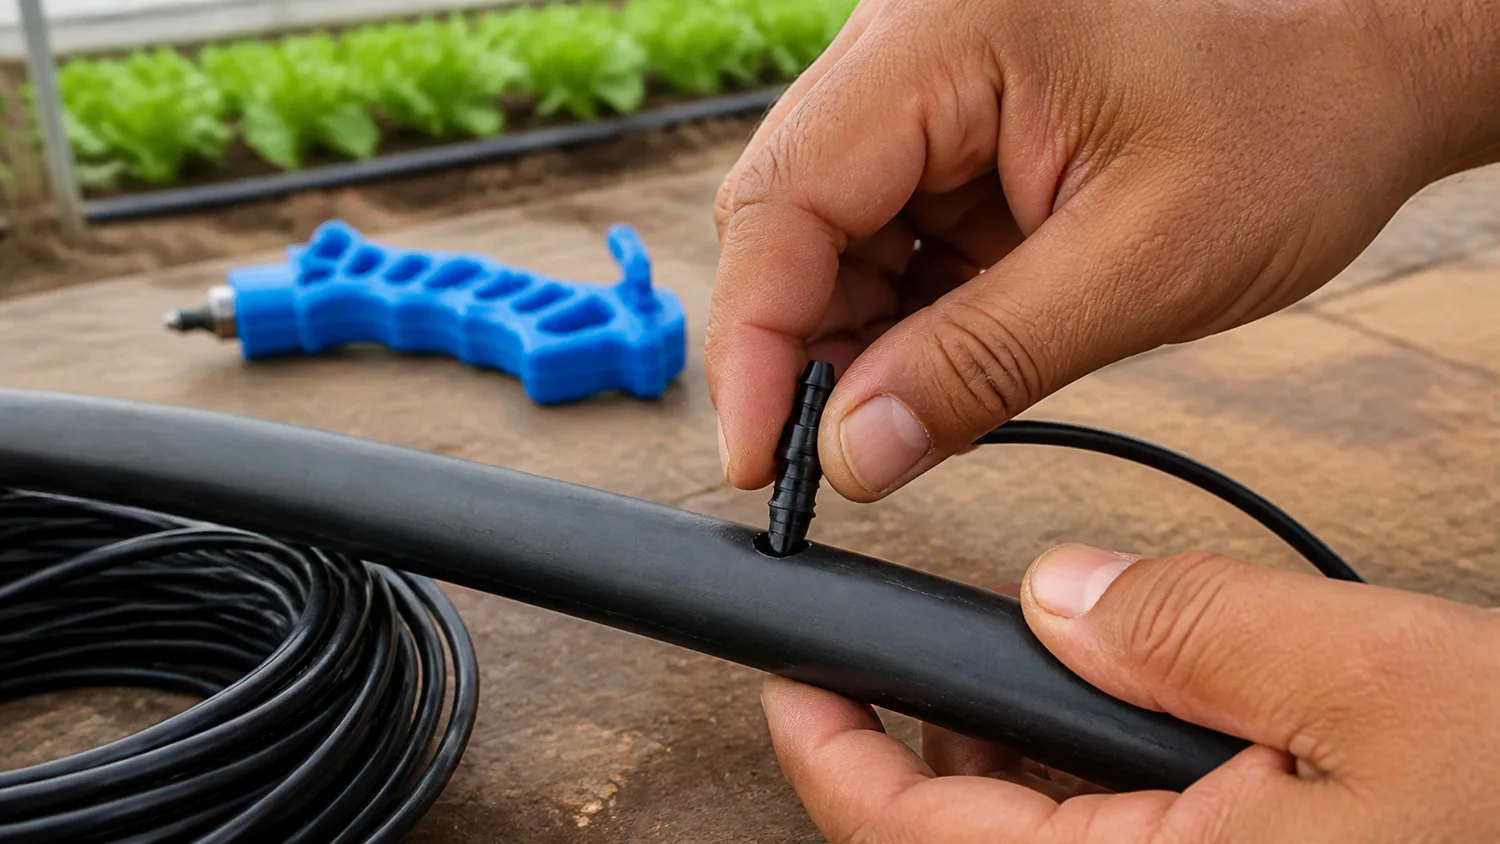
Step 2: Insert the connector
Push the barb squarely into the clean hole. Route the microtube without twisting, crushing or tension.
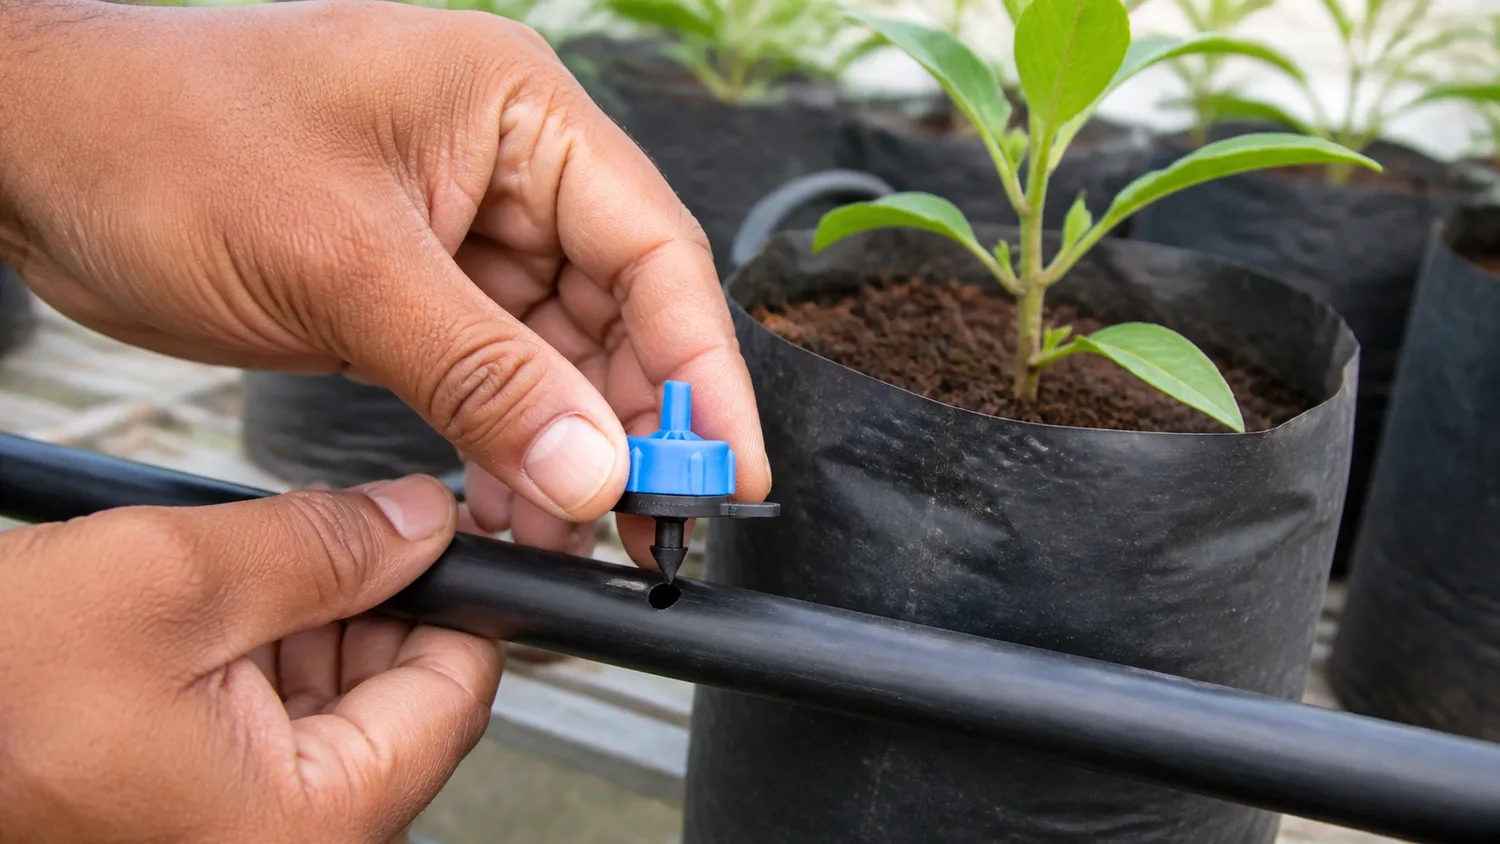
Step 3: Fit the PC dripper
Seat the inlet fully and keep the outlet visible. Confirm the exact inlet/outlet direction for the product supplied.
Step 4: Place the arrow outlet
Insert it into the active root zone, not against the stem, leaves, bag edge or a walkway.
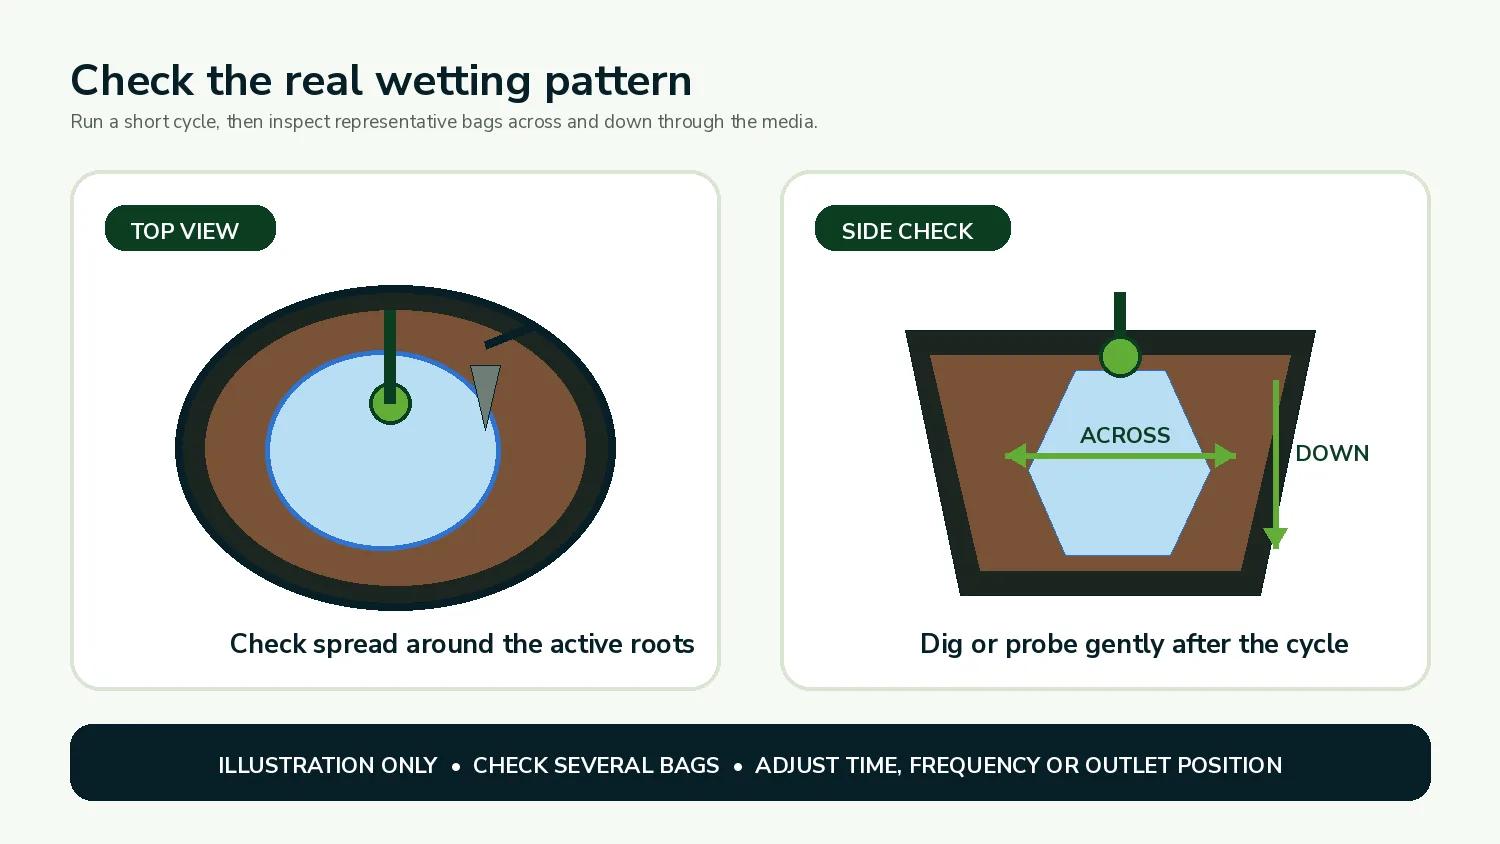
Step 5: Check the wetting pattern
Run a short cycle and inspect several bags across and down. Change time, frequency or outlet position only after this test.
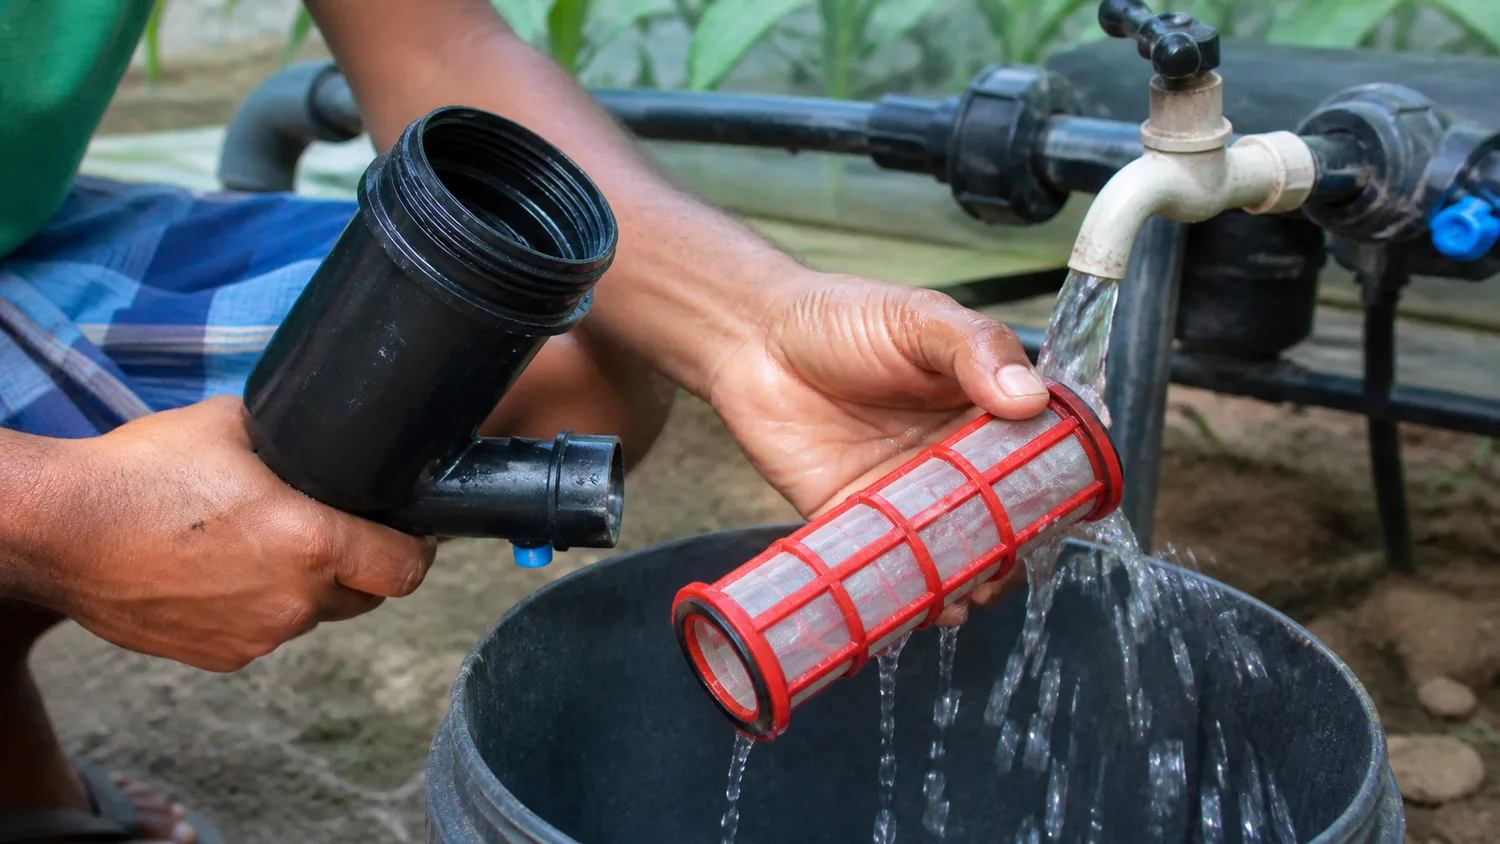
Step 6: Flush and service the filter
Depressurise before opening. Clean the element, reinstall it correctly and flush laterals until water runs clear.
Before punching every hole
Install and test a short sample section first. Confirm the hole size, barb fit, working pressure and leak-free connection with the exact batch of pipe and fittings.
Photograph the finished zone. A labelled photo of each valve and lateral helps staff repeat settings, locate flush ends and spot changes after maintenance.
First test
Commission the zone before relying on it
A line that looks wet can still deliver unevenly. Collect and compare measured water volumes at representative outlets.
Flush first
Open the line end and run water until it appears clear. Close the end securely before the delivery test.
Stabilise pressure
Open the intended zone, read the gauge and check for leaks, pop-outs and visibly weak end points.
Collect water
Place equal containers under outlets near the inlet, at the middle and at the far end for the same timed interval.
Measure
Record millilitres from each container. Compare with the expected volume from the rated flow and run time.
Investigate gaps
Check the filter, kinks, blocked outlets, pressure loss, zone size, component direction and pipe sizing.
Approve the zone
Only set a routine after the wetting pattern and drainage are acceptable across representative plants.
Simple delivery examples
| Rated outlet | 10 minutes | 15 minutes | 30 minutes |
|---|---|---|---|
| 2 L/h | 0.33 L | 0.50 L | 1.00 L |
| 4 L/h | 0.67 L | 1.00 L | 2.00 L |
| 8 L/h | 1.33 L | 2.00 L | 4.00 L |
These are arithmetic delivery volumes, not crop-water prescriptions. Real measured output can differ if the product is outside its confirmed operating conditions or the system has a fault.
Service & troubleshooting
Maintain the system by condition
Inspection frequency depends on water quality, fertilizer use, crop risk and the manufacturer’s instructions. Start with frequent checks, then adjust the schedule using what the filter and outlets show.
| Symptom | Likely checks | First action |
|---|---|---|
| One dry plant | Kinked microtube; moved arrow; blocked or loose outlet | Straighten, reseat, clean or replace; then collect-test. |
| Weak far end | Dirty filter; low source flow; excess open outlets; long/small pipe | Service filter; verify pressure/flow; reduce or redesign zone. |
| Leaks or pop-outs | Rough hole; wrong barb; excessive pressure; damaged pipe | Isolate, repair correctly and verify regulated pressure. |
| Uneven multi-branch set | Different tube lengths; blockage; unknown flow basis | Equalise layout where specified and test every branch. |
| Recurring blockage | Sediment, algae, precipitate or fertilizer residue | Identify contaminant; review treatment, filtration and flushing. |
| Runoff before wetting | Flow too fast; poor placement; dry/hydrophobic media | Shorten/split cycles or change outlet count/position after testing. |
Safe service routine
Depressurise
Close the source and release pressure before opening a filter or fitting.
Clean correctly
Use clean water and the manufacturer’s method; do not damage the screen or discs.
Flush to clear
Keep the lateral end accessible and flush until the discharge is visually clear.
Operation
Good greenhouse practice
Zone similar crops
Group plants with similar stage, container, media and light exposure so one run time makes sense.
Keep tubes tidy
Short, supported microtubes are easier to inspect and less likely to kink, snag or pull out.
Watch the media
Check moisture across and down the root zone. Surface wetness alone is not proof of adequate irrigation.
Inspect after work
After transplanting, pruning or harvesting, confirm that outlets were not moved or crushed.
Keep service spares
Store matching drippers, arrows, microtube, connectors, end caps and the correct punch near the greenhouse.
Record changes
Log valve, run time, filter service, faults and crop response so the next adjustment is evidence-based.
If fertilizer is injected
Use suitable backflow prevention; confirm chemical compatibility and dosing; dissolve products fully; follow the fertilizer and injector instructions; include filtration appropriate to the system; and finish with clean water when the programme requires it. Fertigation design should be checked by a qualified supplier or agronomist.
Never publish a fertigation recipe as universally safe. Crop stage, water analysis, fertilizer chemistry, substrate and injector calibration all change the result.
Product pathways
Products used in this system
Build the zone from verified, compatible parts. These are the main Diyatha product pathways for this layout; confirm pressure, connections, filtration and outlet flow before ordering.
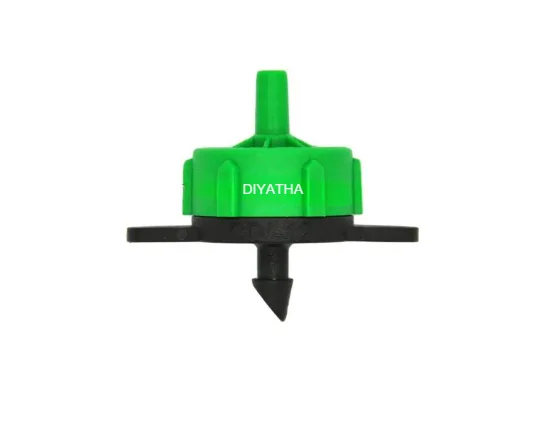
PC Dripper 2 L/h
Nominal low delivery rate for plant-by-plant irrigation.
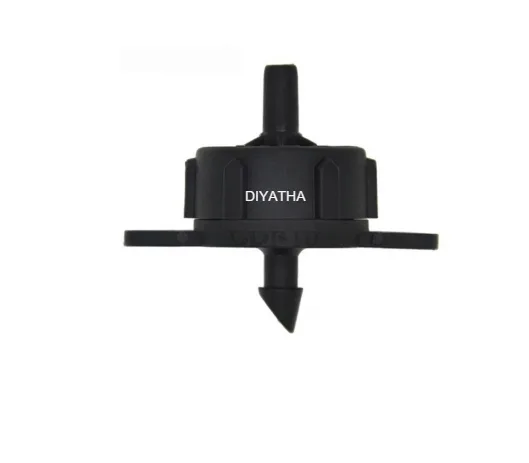
PC Dripper 4 L/h
Nominal middle delivery rate; calculate time from litres needed.
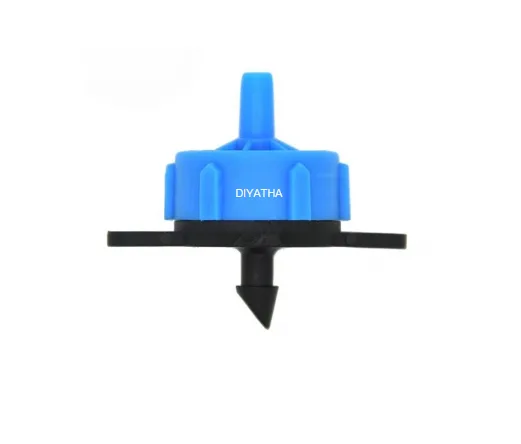
PC Dripper 8 L/h
Nominal higher delivery rate for a shorter delivery window.
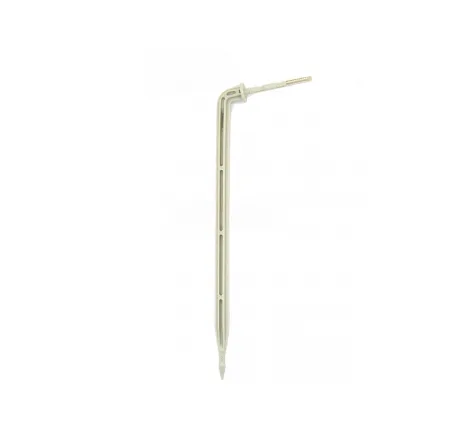
Arrow Dripper
Places the outlet in the grow media near the active root zone.
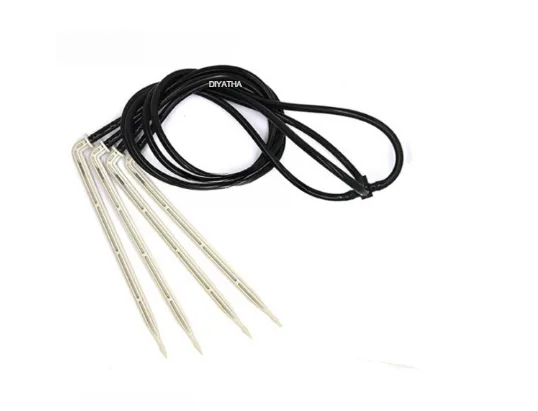
Four-branch Arrow Set
Creates several water points from a compatible supply arrangement.
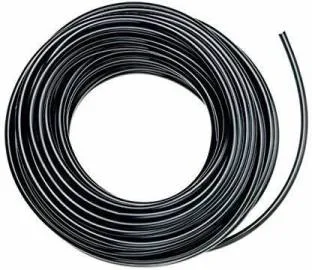
Microtube
Carries water from the lateral or dripper to the plant position.
Check compatibility before ordering
Confirm nominal flow, working-pressure range, filtration requirement and connection size. For multi-outlet assemblies, also confirm whether the stated flow is total or per outlet.
Protection, control and service items
Select filtration and service parts from the actual system need
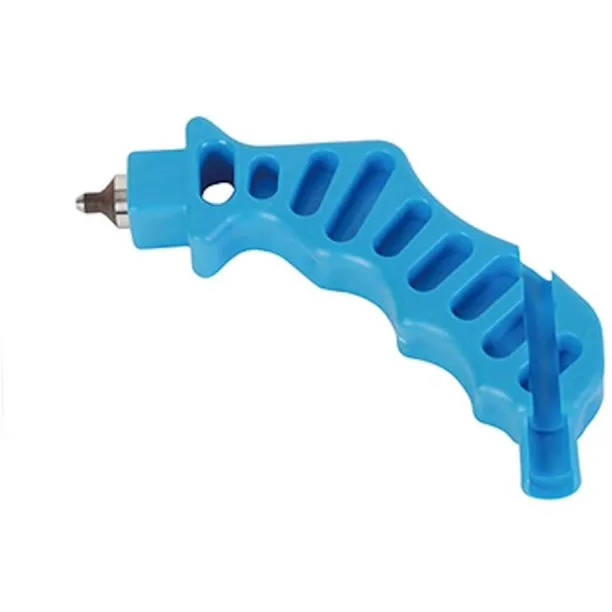
3 mm Hose Puncture
Makes a clean, repeatable hole for the compatible fitting.
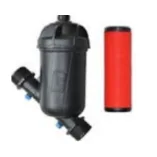
Screen Filter Option
Filtration option selected from contaminants, flow and emitter rating.
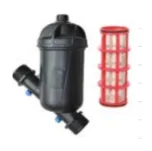
Disk Filter Option
Filtration option selected from water quality and dripper requirements.
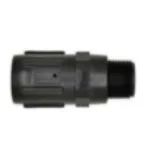
Pressure Regulator
Controls pressure when the source is too high or variable.
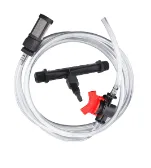
Venturi Injector
Optional injector for a correctly designed fertigation bypass.
Choose your next step
View the exact part
Open a product page to check the current description, connections and availability.
Compare filtration
Choose a filter only after considering the water source, contaminants, flow and dripper requirement.
Order by WhatsApp
Send the item name, quantity and any product photos on WhatsApp so Diyatha can check supply and prepare the order.
Direct answers
Frequently asked questions
What is greenhouse drip irrigation?
It is a system that carries filtered water through pipes and delivers a controlled amount near each plant’s root zone through drippers or small outlets.
Which dripper flow should I choose for a grow bag?
Choose from the litres the crop needs, the available irrigation window, substrate wetting and verified product data. Container size alone is not enough. Test the measured volume and drainage before setting the routine.
How much water does a 4 L/h dripper deliver in 15 minutes?
The arithmetic volume is 1 litre: 4 x 15 / 60. Treat this as a delivery calculation, not a crop recommendation.
Can one dripper feed four arrow outlets?
Only use that arrangement when the products are compatible and you have confirmed whether the rated flow is total or per outlet. Measure all four branches before relying on the setup.
Do greenhouse drippers need a filter?
Yes. Select the filtration type and rating from the water contaminants, total flow, dripper requirement and manufacturer guidance. Service it according to the observed condition.
Do I need a pressure regulator?
Use one when the source pressure is above or varies outside the confirmed requirements of the components. A pressure gauge helps verify the operating condition.
How often should I flush the lines?
Flush after installation, when contamination enters, before a new crop and whenever inspection indicates it is needed. Keep flushing until the discharge runs clear, then record the service.
Can I add fertilizer through a venturi?
Yes, when the system is designed for fertigation with backflow protection, correct filtration, compatible fertilizer, calibrated injection and a suitable clean-water finish.
Diyatha orders
Order greenhouse drip irrigation items
Send the item names, quantities and product photos on WhatsApp. Diyatha can confirm available supply and prepare the items for purchase.
Why this guide is useful
Local, practical and product-aware
Local context
Designed for growers using pots, grow bags and nursery crops in Sri Lankan conditions.
Practical testing
Uses measured delivery and wetting-pattern checks instead of a universal minutes chart.
Product supply
Diyatha supplies drip irrigation items, filters, fittings and related greenhouse irrigation products.