
Nets and crop protection
How to Choose Shade Net in Sri Lanka: 50%, 60%, 70% or 80%?
Shade percentage tells you how much incoming light a net is designed to block under test conditions. It is a useful starting point, but it is not a crop recipe and it is not the same as temperature reduction.
Choose the lowest shade level that solves the light problem while leaving enough useful light for plant growth, flowering, fruiting and colour development. Existing greenhouse film, insect net, dust, season, mounting height and airflow can all change the result.
Selection rule
Start with the plant, place and structure
Shade net works best when it answers a clear need: reducing harsh direct sun, protecting a nursery area, lowering heat load on a covered house, or creating shade for a non-crop space. Too much shade can slow growth or make plants stretch.
Plant or use
Note the crop, plant stage, symptoms and goal. Seedlings, ornamentals, fruiting crops and work areas can need different light levels.
Light problem
Decide whether the issue is leaf scorch, fruit sun injury, a hot working area, nursery protection or seasonal afternoon sun.
Installation place
Open shade house, greenhouse roof, side wall, nursery bench, home garden and parking shade all behave differently.
Existing cover
Greenhouse film, insect net, tree shade and frame shadows already reduce or redistribute light.
Seasonal change
A fixed shade level may be useful in one season and excessive in another. Removable layouts are easier to adjust.
Field check
Compare plant response before and after shading. A light meter gives a better reading than judging by eye alone.
Important
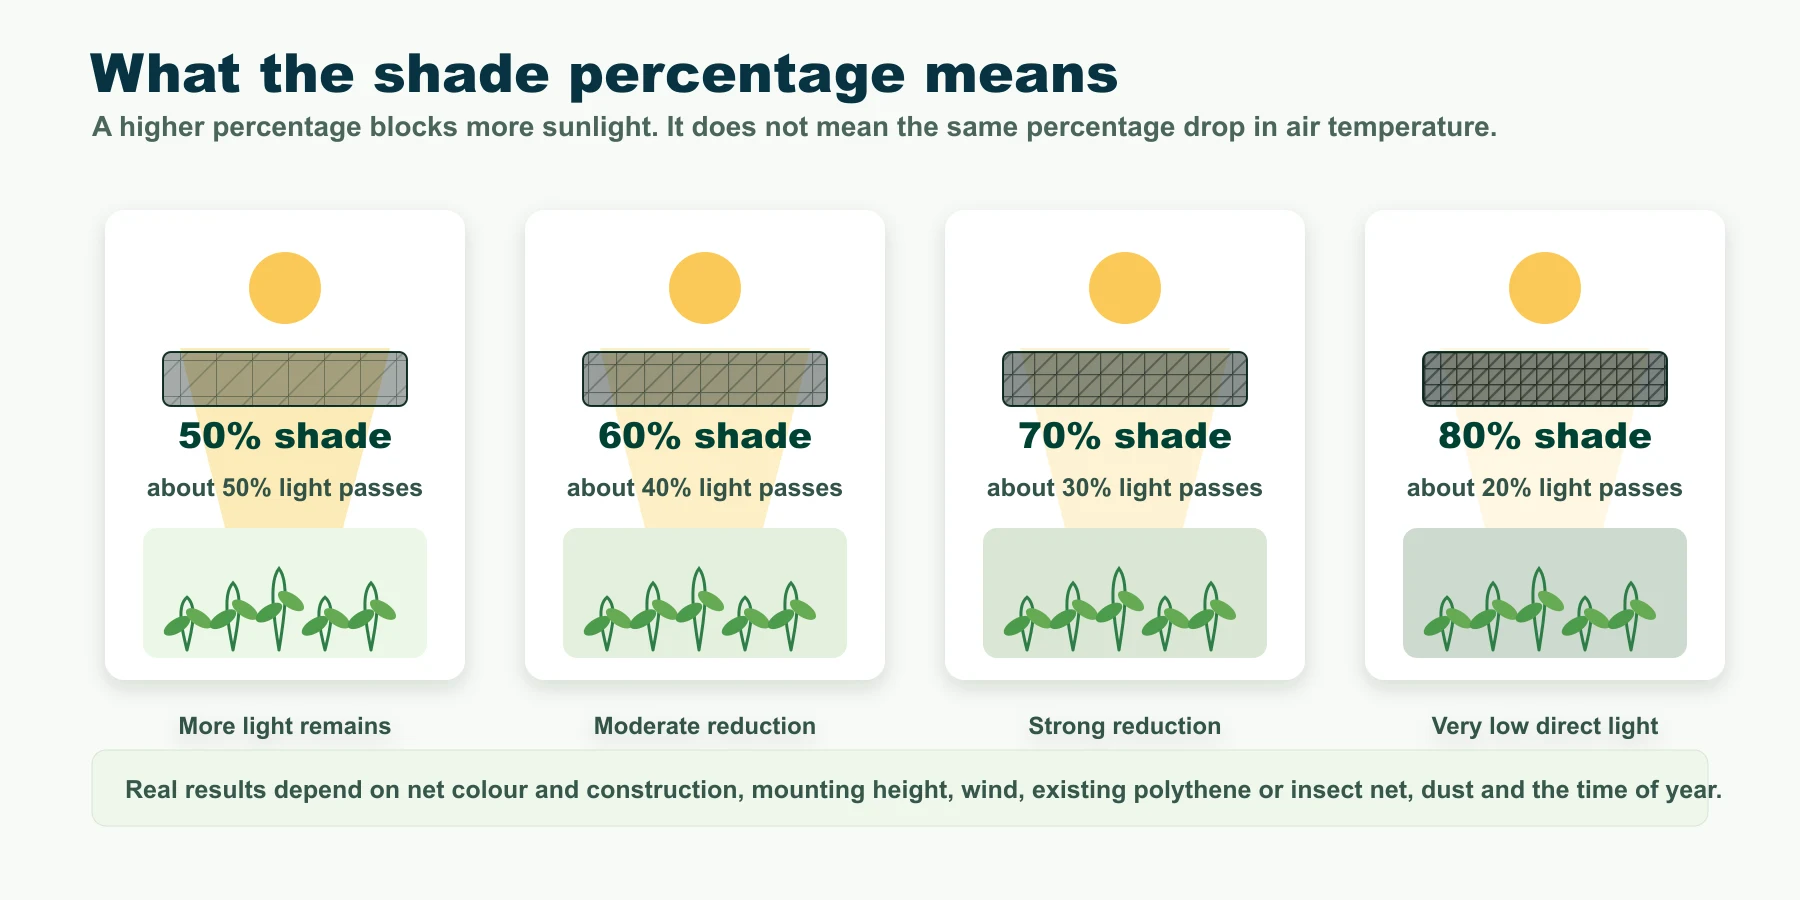
A 70% shade net does not reduce air temperature by 70%. Shade reduces incoming solar radiation; actual temperature depends on ventilation, cover material, wind, humidity and the shape of the structure.
Shade percentage
Understand 50%, 60%, 70% and 80%
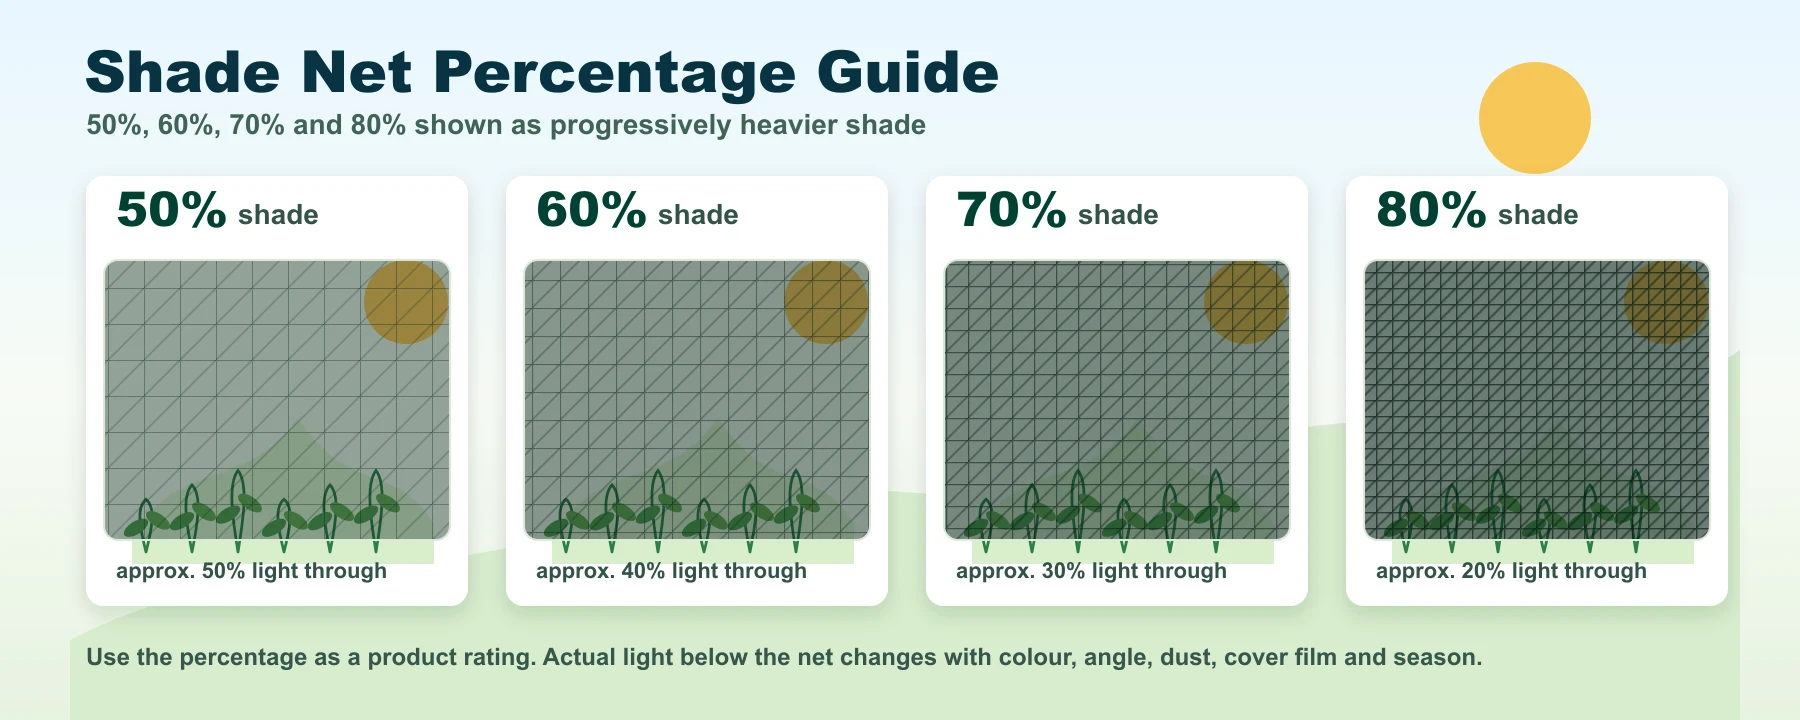
The percentage is normally a light-blocking rating for the net. A 50% net leaves more light available than 60%, 70% or 80%. When shade net is placed over another cover, the light reaching the plant is lower than the shade-net label alone suggests.
When another cover is already installed
Do not simply add two percentages together. Greenhouse film, insect net, dust and frame shadows interact with the shade net. Measure the finished light level when crop performance matters.
Four checks
Choose shade net with a practical checklist
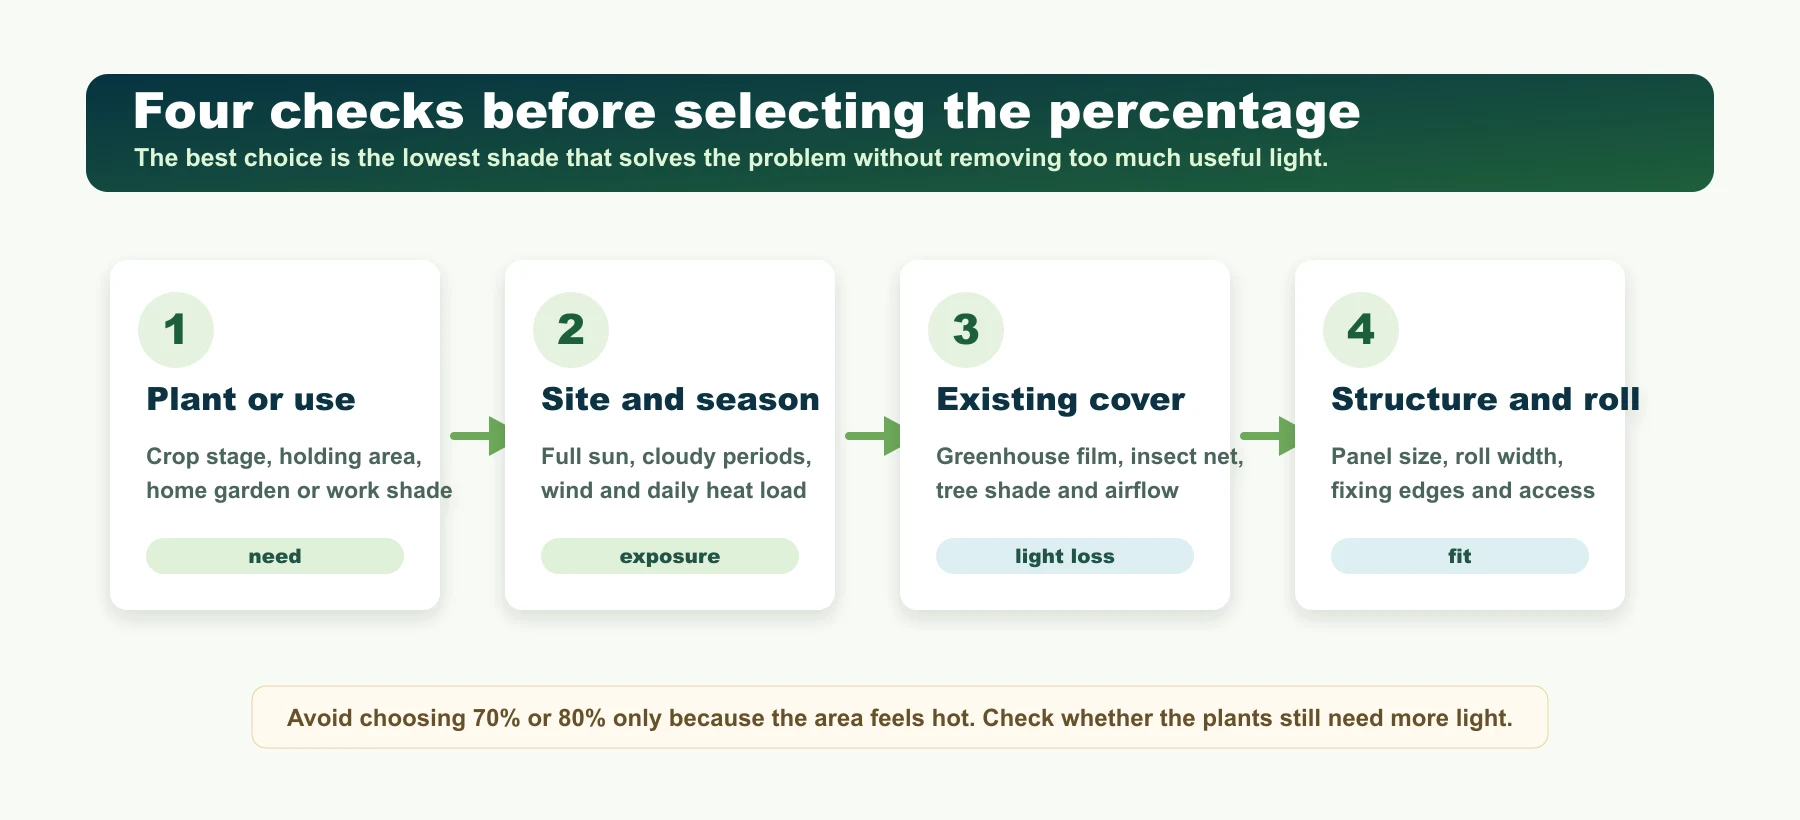
A cautious selection starts with the real use and then checks the site, the existing cover and the structure. This keeps the guide useful without making crop-specific promises.
Details to record before buying
Crop or use
Crop or use, age or growth stage, visible symptoms, planting date and whether the shade need is temporary or permanent.
Location and exposure
Town or district, open field or protected house, hours of direct sun, wind exposure and any existing covering.
Structure
Length, width, roof shape, side-wall height, fixing points, doors, vents, gutters and access paths.
Product data
Shade percentage, colour, roll width, roll length, material type, UV stabilisation and available stock.
50% / 60% / 70% / 80%
Compare the four shade levels
The table gives realistic starting points. Final performance depends on the crop, season, structure, colour, existing cover and local conditions.
| Option | Light effect | Useful starting point | Main caution |
|---|---|---|---|
| 50% | Lowest shade in this group; more light passes through. | Where moderate shading is needed and plant growth still needs good light. | May not be enough for very harsh sun or sensitive nursery areas. |
| 60% | Moderate to high shade. | Nurseries, ornamentals or protected areas needing more shade than 50%. | Can reduce daily light too much if used under another cover. |
| 70% | High shade. | Shade-tolerant uses, holding areas or strong solar screening. | Can be excessive for many crops during cloudy periods or under film. |
| 80% | Very high shade. | Heavy-shade uses, selected ornamentals, holding areas or non-crop shade. | High risk of low crop light if chosen only because the site feels hot. |
A simple trial method
Set a baseline
Record light, heat symptoms and plant condition before shading.
Trial one area
Where practical, shade a representative section before covering the full area.
Compare consistently
Check the same place and time of day. Watch leaf colour, stretching, flowering and crop quality.
Adjust when needed
Remove, roll back or change coverage when the season or plant stage changes.
Current ranges
Compare Indian, Thailand and Israel shade net sizes
The current product pages list 50%, 60%, 70% and 80% options from Indian, Thailand and Israel ranges. Origin is not enough to choose a net; compare the listed shade percentage, colour, size, material construction and stock at the time of purchase.
| Range | Listed widths | Listed lengths | What to check |
|---|---|---|---|
| Indian | 3 m | 1 m, 50 m and 100 m | Shade percentage, colour, roll length, cut length and current stock. |
| Thailand | 2 m, 3 m, 4 m and 6 m | 5 m, 25 m, 50 m and 100 m | Exact shade percentage, colour, roll width and whether the required length is available. |
| Israel | 3 m | 50 m | Shade percentage, colour, roll size and suitability for the planned structure. |
Buyer checklist
Shade rating
Check that the product label and page match the percentage you need.
Construction
Look at knit or weave type, edge finish, colour and whether joins will be needed.
Weather exposure
Consider sun, wind, abrasion points, dust and whether the net will stay outside all year.
Roll planning
Match panel sizes to available roll widths and lengths to reduce joins and waste.
Applications
Where shade net can be used
Select the percentage and structure for the real use. A net that suits a nursery bench may not suit a fruiting crop, a greenhouse roof or a large wind-exposed work area.
Nursery and propagation
Reduces harsh light for young or shade-adapted plants while airflow and plant stretching are monitored.
Shade houses
Creates a covered growing area when the frame, posts and fixing points are suited to local wind exposure.
Greenhouse exterior
Exterior shade can reduce solar heat load on the cover, but it also adds wind and fixing demands.
Home gardens
Can protect selected plants from strong afternoon sun while keeping enough light for growth.
Ornamental holding areas
Useful when the plant mix and holding period tolerate lower direct light.
Non-crop shade
Work areas, parking or storage shade can use heavier percentages when plant light is not the main requirement.
Not the same as insect net or roofing
Open shade net reduces light. It does not replace insect net, bird net, greenhouse film or waterproof roofing.
Measurement
Calculate the shade-net quantity
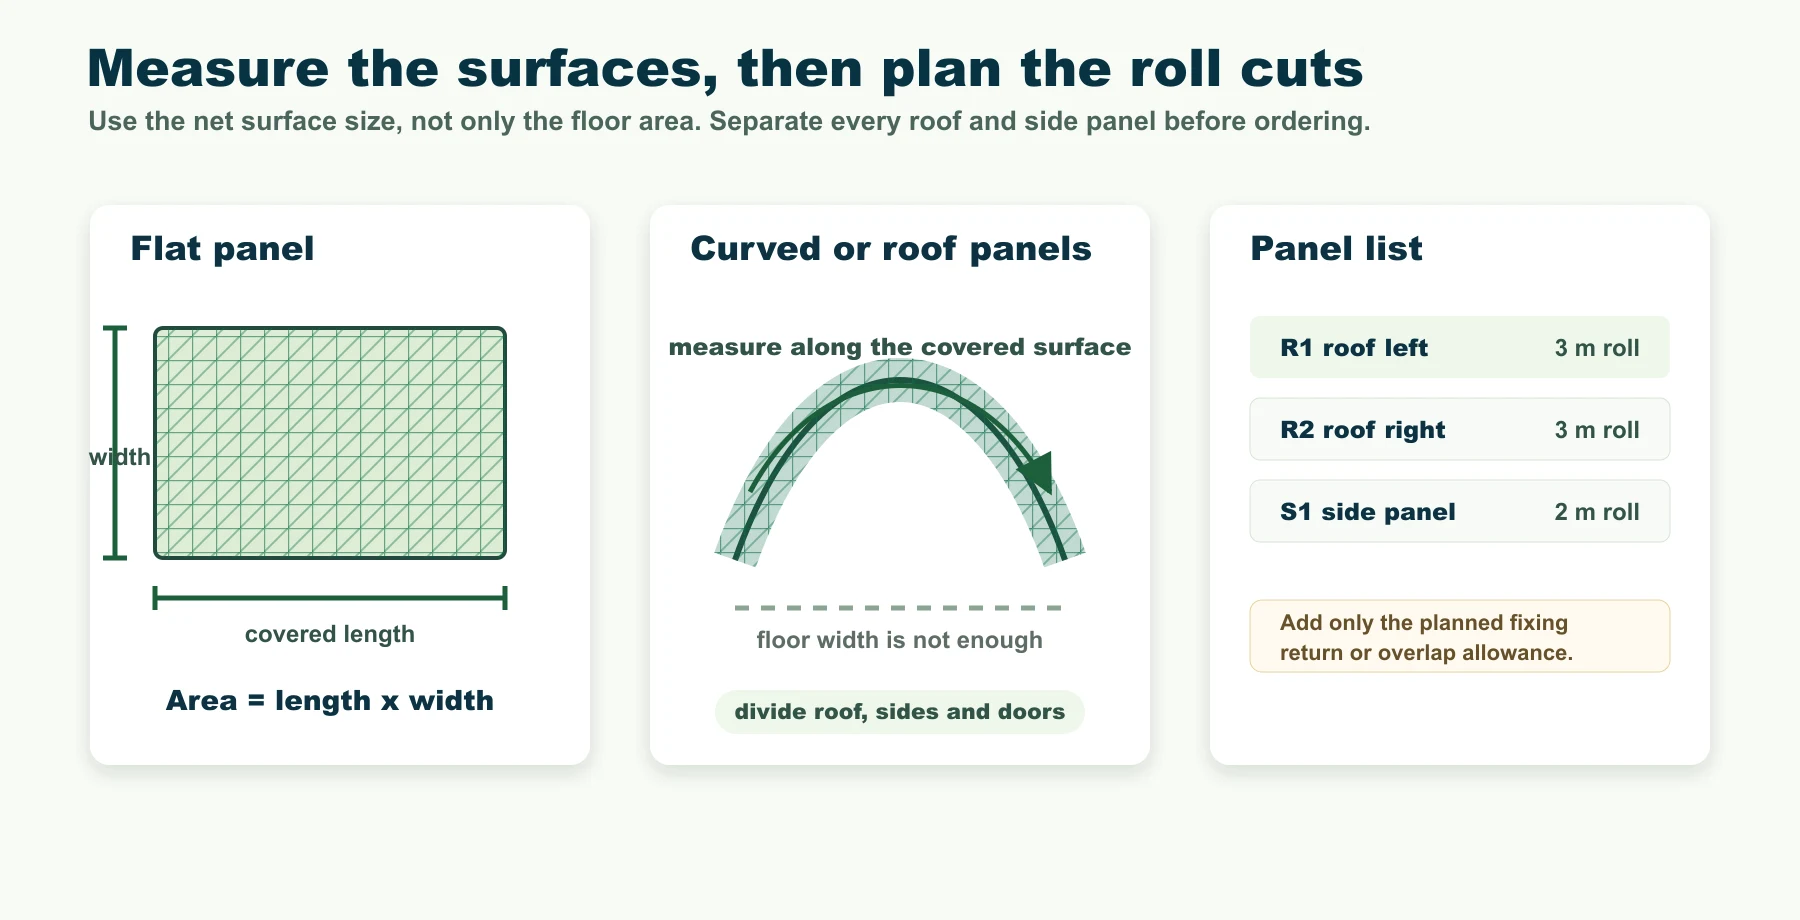
Measure the surface the net must follow. Roof slopes, curved roofs, side panels, openings and fixing returns can make the net size different from the floor area.
Base-area formula
For a rectangular flat panel: base area = covered length x covered width. A 12 m x 6 m panel has a base area of 72 m2. Add only the planned fixing return or overlap allowance, then map the panels into available roll widths and lengths.
Panel planning
Turn the structure into a roll-and-panel plan
A roll plan prevents under-ordering and reduces unnecessary joins. It is especially important for greenhouses, shade houses and irregular roofs.
Draw each surface
Separate roof slopes, arch surfaces, side panels, doors and openings. Give every panel an ID.
Mark fixing edges
Show where the net terminates, turns, joins, is clipped or must remain removable.
Confirm roll direction
Match each panel to a current roll width to reduce joins and unusable offcuts.
Plan joins
Use a consistent join or overlap detail for the structure instead of assuming one allowance fits every project.
Create a cut list
Record panel ID, finished size, cut size, roll width, quantity and location.
Check access
Keep doors, vents, gutters, equipment and maintenance paths usable after the net is fitted.
Simple cut-list template
| Panel | Surface | Finished measurement | Fix / overlap detail | Roll width | Cut quantity |
|---|---|---|---|---|---|
| R1 | Roof left | ___ m x ___ m | Project detail | ___ m | ___ |
| R2 | Roof right | ___ m x ___ m | Project detail | ___ m | ___ |
| S1 | Side panel | ___ m x ___ m | Door / vent opening | ___ m | ___ |
Do not order from square metres alone
Two projects with the same area can need different quantities because roll widths, roof shape, joins and fixing edges differ.
Structure
Prepare a structure that can hold the net
Shade net catches wind and transfers load to posts, cables, frames and fixings. Large, high or exposed installations need site-specific structural design.
Frame strength
Posts, foundations, cables and frames must suit the net area and wind exposure.
Correct product
Check shade percentage, roll width, length, colour, batch and visible damage before cutting.
Safe access
Work at height, roof access and windy conditions create risk. Plan access before lifting the net.
Smooth contact points
Remove sharp edges and burrs where the net crosses frames, wire or roofing.
Suitable fixings
Use clips, cord, wire or profiles that suit outdoor exposure and spread the load along the edge.
Panel sequence
Label panels and fit them in an order that avoids dragging finished sections over rough surfaces.
Wind warning
A webpage cannot provide universal post spacing, cable size, foundation size or fastener spacing. These details depend on the actual site and structure.
Fitting checks
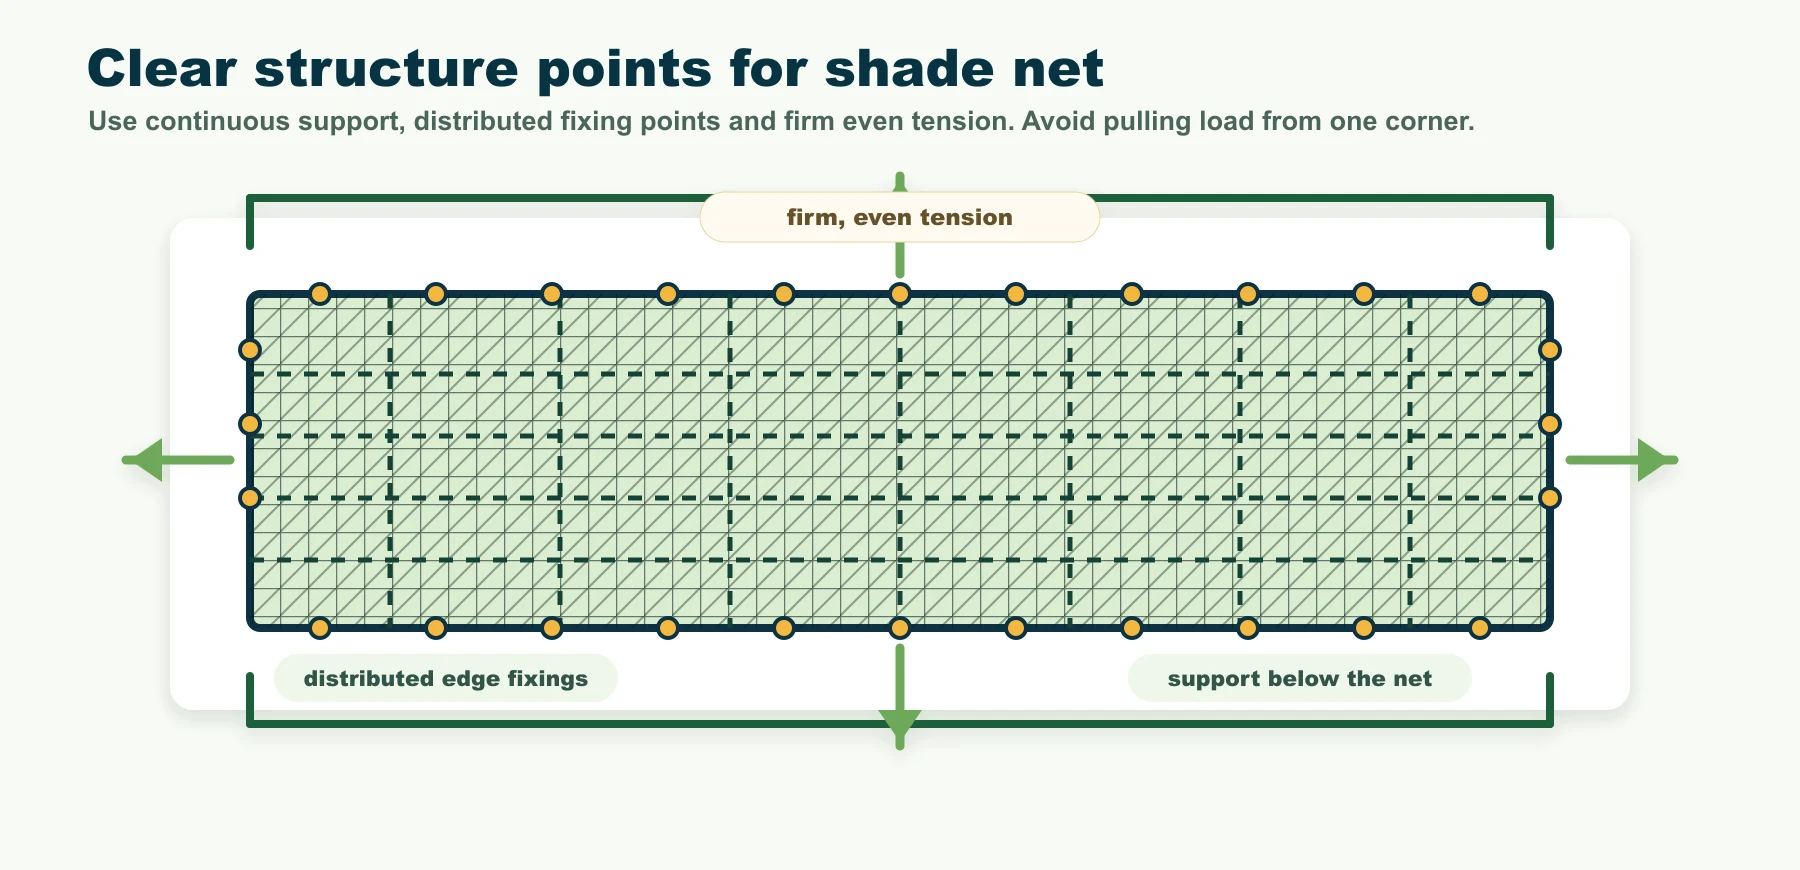
Support, fix and tension the net evenly
The clearest installations have continuous support, evenly distributed fixing points and firm tension without distortion.
Position
Unfold the panel on a clean surface and keep it away from sharp or rough contact points.
Anchor
Secure the starting edge and corners with a fixing method suited to the frame.
Distribute
Work progressively along edges and supports; avoid pulling hard from one isolated point.
Tension
Remove major slack while avoiding overstretching, distortion or uneven stripes in the net.
Finish
Complete joins and edges, then trim only after the panel position is confirmed.
Inspect
Check coverage, fixings, access, drainage, flapping, abrasion and clearance.
Maintenance
Maintain and troubleshoot from visible evidence
Recheck the net after strong wind, repairs or structural movement. Correct the cause of wear before a small hole becomes a large tear.
| Problem | Likely causes to check | Practical response |
|---|---|---|
| Sagging | Loose fixings, insufficient support, stretch, debris load or poor panel layout. | Remove debris, check supports and retension only within the structure’s limits. |
| Edge tear | Load concentrated at one point, sharp hardware, flapping or weak edge detail. | Stop further tearing, protect the contact point and replace damaged attachment material. |
| Hole at frame | Abrasion, burrs or repeated movement at a contact point. | Smooth or cover the contact point before repairing or replacing the affected area. |
| Uneven shade | Overstretching, mixed batches, seams, dust build-up or partial double layers. | Check product identity, panel layout and measured light below representative areas. |
| Loose after wind | Fixing failure, cable movement or structural deformation. | Check the structure before adding tension again. |
| Crop stretching | Too little light, too many shaded hours or combined effect with existing cover. | Measure light and reduce coverage if plants are receiving too little light. |
Cleaning and storage
Avoid sharp tools, harsh chemicals, high-pressure jets and dragging across rough ground. Let the net dry before long storage.
Product options
Browse shade-net products
The links below lead to the current product options. Product availability, colour, width, length and shade percentage should be checked on the product page at the time of purchase.
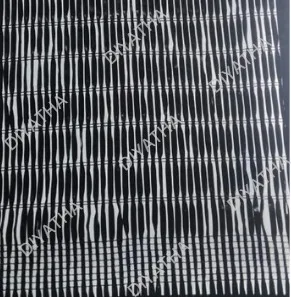
50% Shade Net
The lightest option in this guide’s 50-80% range.
60% Shade Net
A moderate to high shade option for suitable uses.
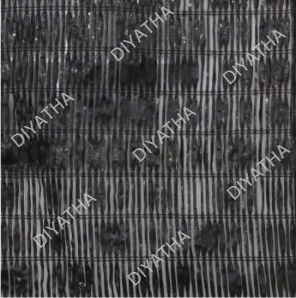
70% Shade Net
A high shade option where lower direct light is required.
80% Shade Net
The heaviest shade option in this guide’s 50-80% range.
All current percentage and origin options
| Shade | Indian range | Thailand range | Israel range |
|---|---|---|---|
| 50% | View Indian option | View Thailand option | View Israel option |
| 60% | View Indian option | View Thailand option | View Israel option |
| 70% | View Indian option | View Thailand option | View Israel option |
| 80% | View Indian option | View Thailand option | View Israel option |
Direct answers
Frequently asked questions
What does 70% shade net mean?
It generally means the net is rated to block about 70% of incoming light under the test basis used for that product. It does not mean a 70% temperature reduction.
Is 50% shade net suitable for every vegetable?
No. Crop, variety, growth stage, site, season, existing cover and production goal all affect the amount of useful shade.
Which is better: Indian, Thailand or Israel shade net?
Origin alone is not enough. Compare the shade percentage, size, colour, construction, current stock and the conditions where the net will be used.
Can shade net be placed over greenhouse polythene?
Yes, when the structure is suitable. The combined light transmission will be lower than the shade-net label alone, and exterior shade also adds wind load.
How is shade-net quantity calculated?
Measure each actual surface, add the planned fixing or overlap allowance, then convert the panels into available roll widths and lengths.
Should shade net be tight?
It should be firm enough to limit flapping and sagging, but not stretched so hard that the material distorts or tears at fixing points.
Does shade net stop rain?
No. Standard open shade net is not waterproof roofing.
Does shade net stop insects?
No. Insect exclusion needs the correct insect-net mesh size and a sealed installation.